

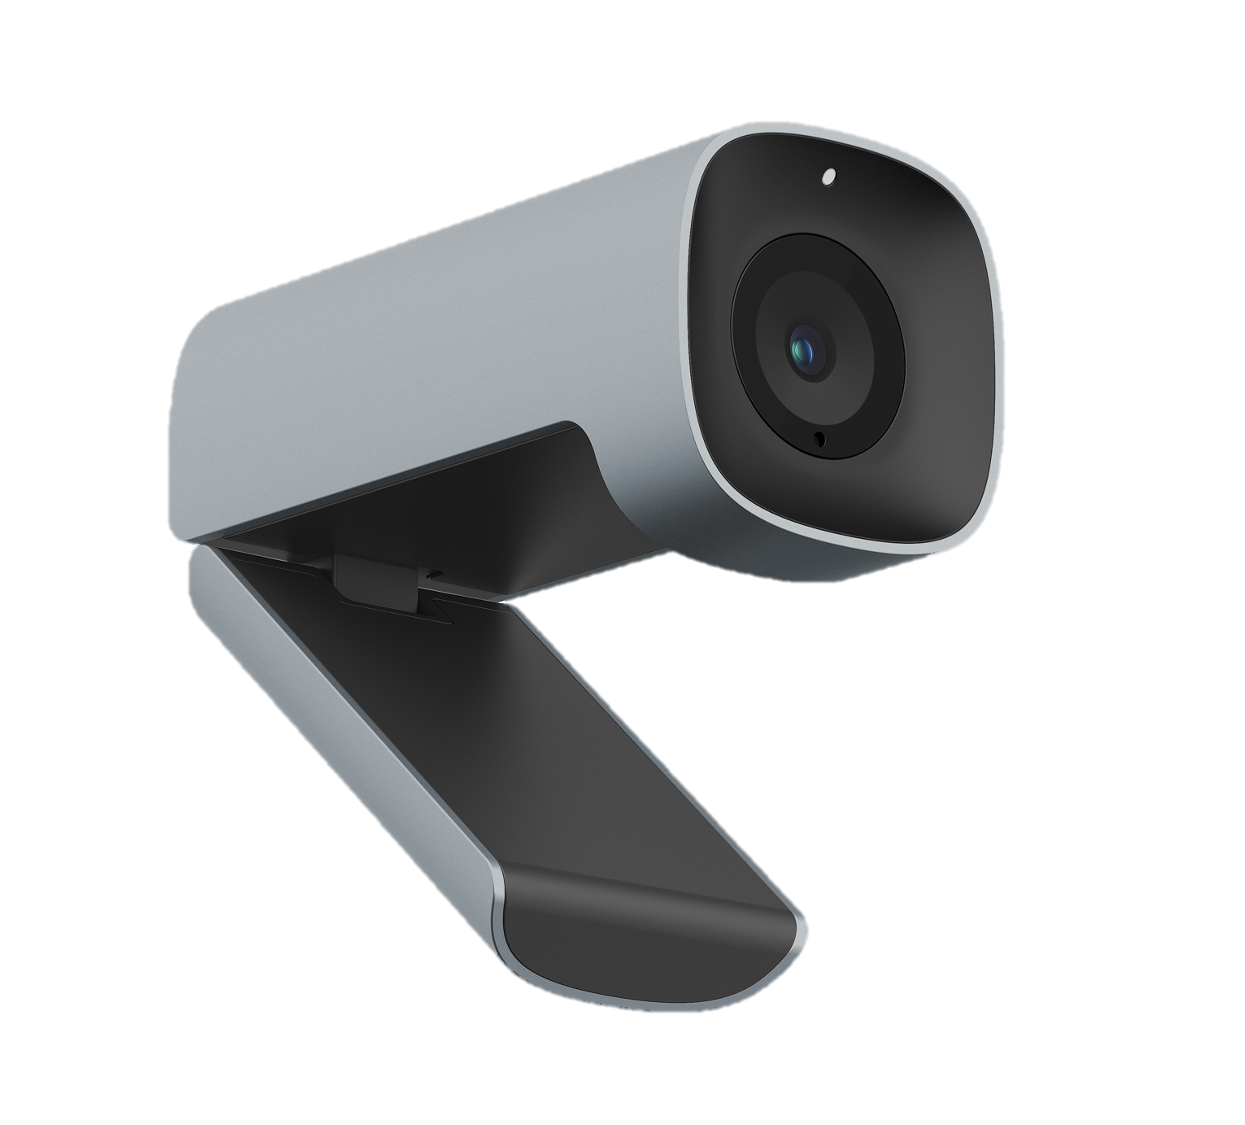

Blade VS+

Saber 4K+
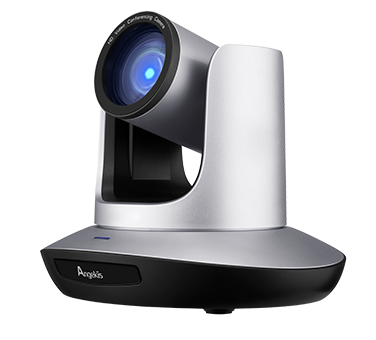
Saber X
Saber U20

Saber Plus
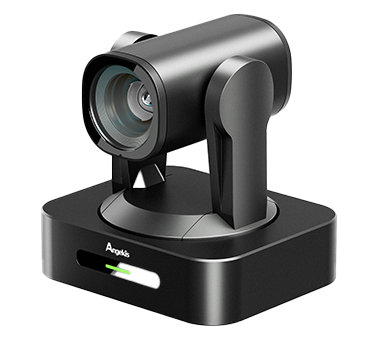
Saber IP20X
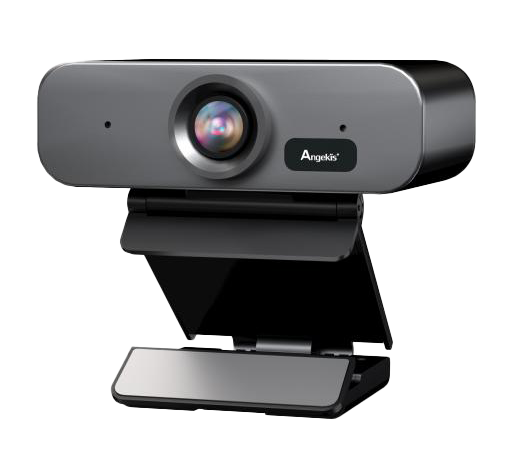
Saber Light
Saber 4K+ NDI®
Saber IP20X NDI®

Blade 4K
Saber 4K
Saber AT

Cleartalk Wired ASP-05

Cleartalk HD ASP-10

Cleartalk Wireless ASP-04

Cleartalk Anchor ASP-06

Cleartalk DC 4 Units ASP-04D-4S
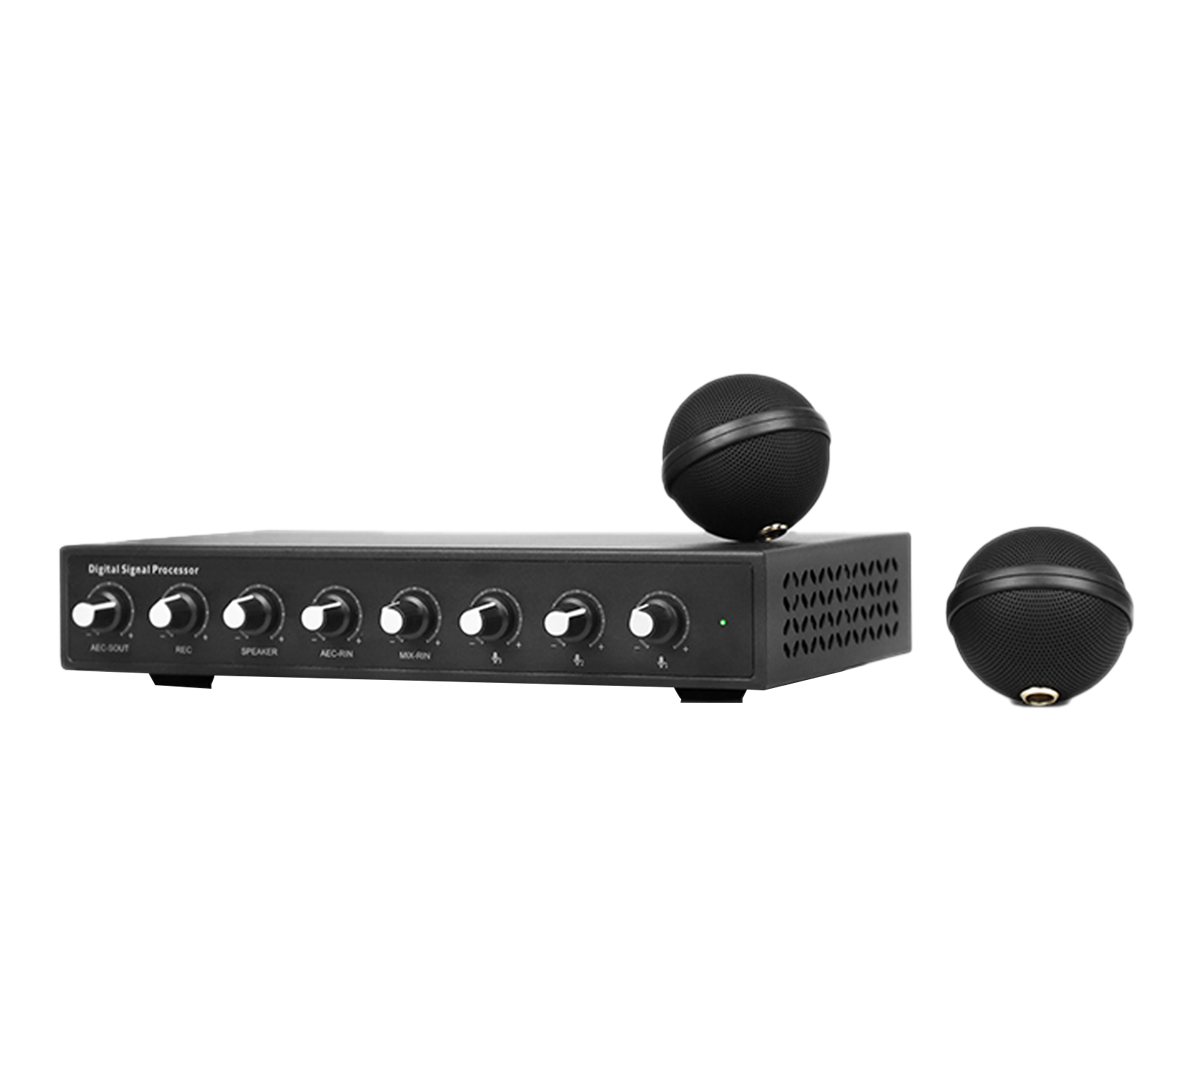
Ceiling Mic Pro ASP-C-01

Ceiling Mic Pro ASP-C-02

Ceiling Mic QS ASP-C-04

Cleartalk DC 2 units ASP-04D-2

Cleartalk HD DC ASP-10D-2
Mission Control Keyboard
Wall Bracket (White)
Wall Bracket (Black)
USB3.0 Extend Cable 10-30M
USB3.0 A male to B male Active Optical Cable
USB3.1 Type A-C Active Optical Cable
HDMI 2.0 Cable
Ceiling Mount (White)
Ceiling Mount (Black)
USB2.0 Extender
One Touch Wall Bracket (Black)
IP Controller
Remote Control for Saber and Blade
Cord Cover Wall Bracket (Black)
Remote Control for One Touch
Cord Cover Wall Bracket (White)
RS232 Cable
RS232 Joystick
Power Adapter

Blogs
RTMP Live Streaming
RTMP Live Streaming
Today we are going to introduce how to set up an Angekis camera to stream on YouTube Live through RTMP.
What is RTMP? Put simply, it’s a way to send audio, video and data over the internet.
The Real Time Messaging Protocol is a network protocol for real-time data communication, and is the most widely-used streaming protocol on the internet. It navigates how to break up large data files into smaller, manageable chunks (data packets), and organizes the communication operations between the streaming media and the interactive servers.
In order to make live streaming more convenient, we can choose an Angekis camera with a Line in audio interface to seamlessly incorporate the audio into our stream.
1. Set Up

1.1 Audio Access
Connect the microphone or audio mixer through the camera’s Line In interface. Almost any audio system with a 3.5mm output (the standard size for a headphone jack) will work, and if your system doesn’t have this, converters are inexpensive and easy to find. Note: Make sure you’re using TRS and not TRRS.
1.2 Camera Streaming Settings
ØConnect the camera to the LAN switch / router with a network cable;
ØIP configuration: Make sure the network segment is consistent with the camera network segment, such as: 192.168.1.189 (camera default ip address: 192.168.1.188);
ØTurn on the browser on the computer, enter the camera IP address in the address bar, and enter the WebUI login interface for configuration (default Username: admin Password: admin)

After logging in, click "Settings" in the upper right corner, select "Ethernet" for IP configuration, and click "Save" to save.

(IP can also be modified in the OSD menu SYSTEM>> IP SETTINGS)
ØTip: After completing the IP configuration, test access to the new IP address.
2. YouTube Live
2.1 Go to YouTube: www.youtube.com

2.2 Click the “Create” button on the top right corner, select “Go live” :

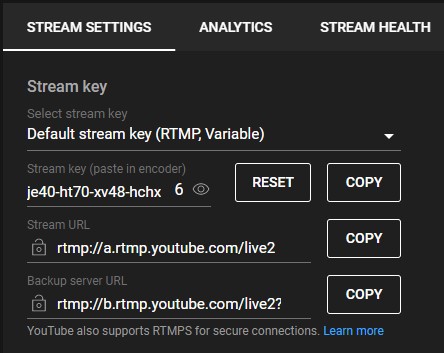
2.3 Enter the live broadcast configuration page, select Stream from the top left, and obtain Stream URL and Stream Key from Stream Settings.

3. Camera RTMP Stream Configuration
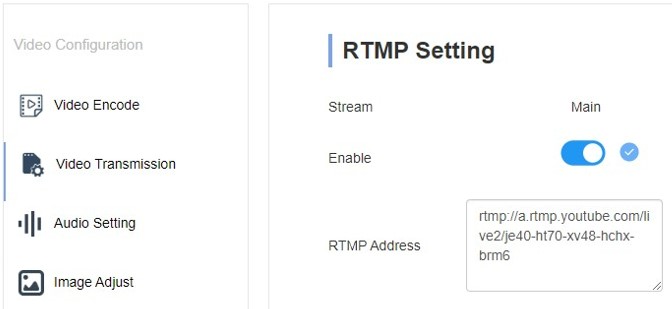
3.1 Go into the camera’s WebUI, click "Settings" in the upper right corner, and select "Video Transmission" for RTMP configuration.

3.2 Set Up the RTMP Stream
Enable the Stream Main switch for RTMP, and fill in the stream address ("RTMP Address") information from YouTube: Stream URL / Stream key.
For example: rtmp://a.rtmp.youtube.com/live2je40-ht70-xv48-hchx-brm6
Note: Remember to insert a slash “/” between the Stream URL and the Stream Key provided by YouTube.

Click "Save" to save the settings.
When the Streaming Set Up is successful, the Enable Icon will change from ![]() to
to ![]()
Afterwards, go back to the YouTube Page, here you can preview the live image.

3.3 Watch the live broadcast
You can now watch the livestreaming broadcast.

Advantages and Disadvantages
Advantages:
1. RTMP streaming is convenient, requires only a LAN connection (as the Ethernet cable also provides power and control options), and allows for remote operation and management.
2. No need to install additional software on the computer.
3. After the live broadcast is started, it can be broadcast independently from the computer.
Disadvantages:
1.RTMP Streaming may fail in a complex network environment.
2. There may be compatibility problems with the RTMP streams of third-party live streaming platforms.
Make sure to subscribe to the Angekis Technology YouTube Channel here: https://www.youtube.com/c/angekistechnology